Solar Security Camera Mounting Options: Trees, Fence Posts & Poles Guide
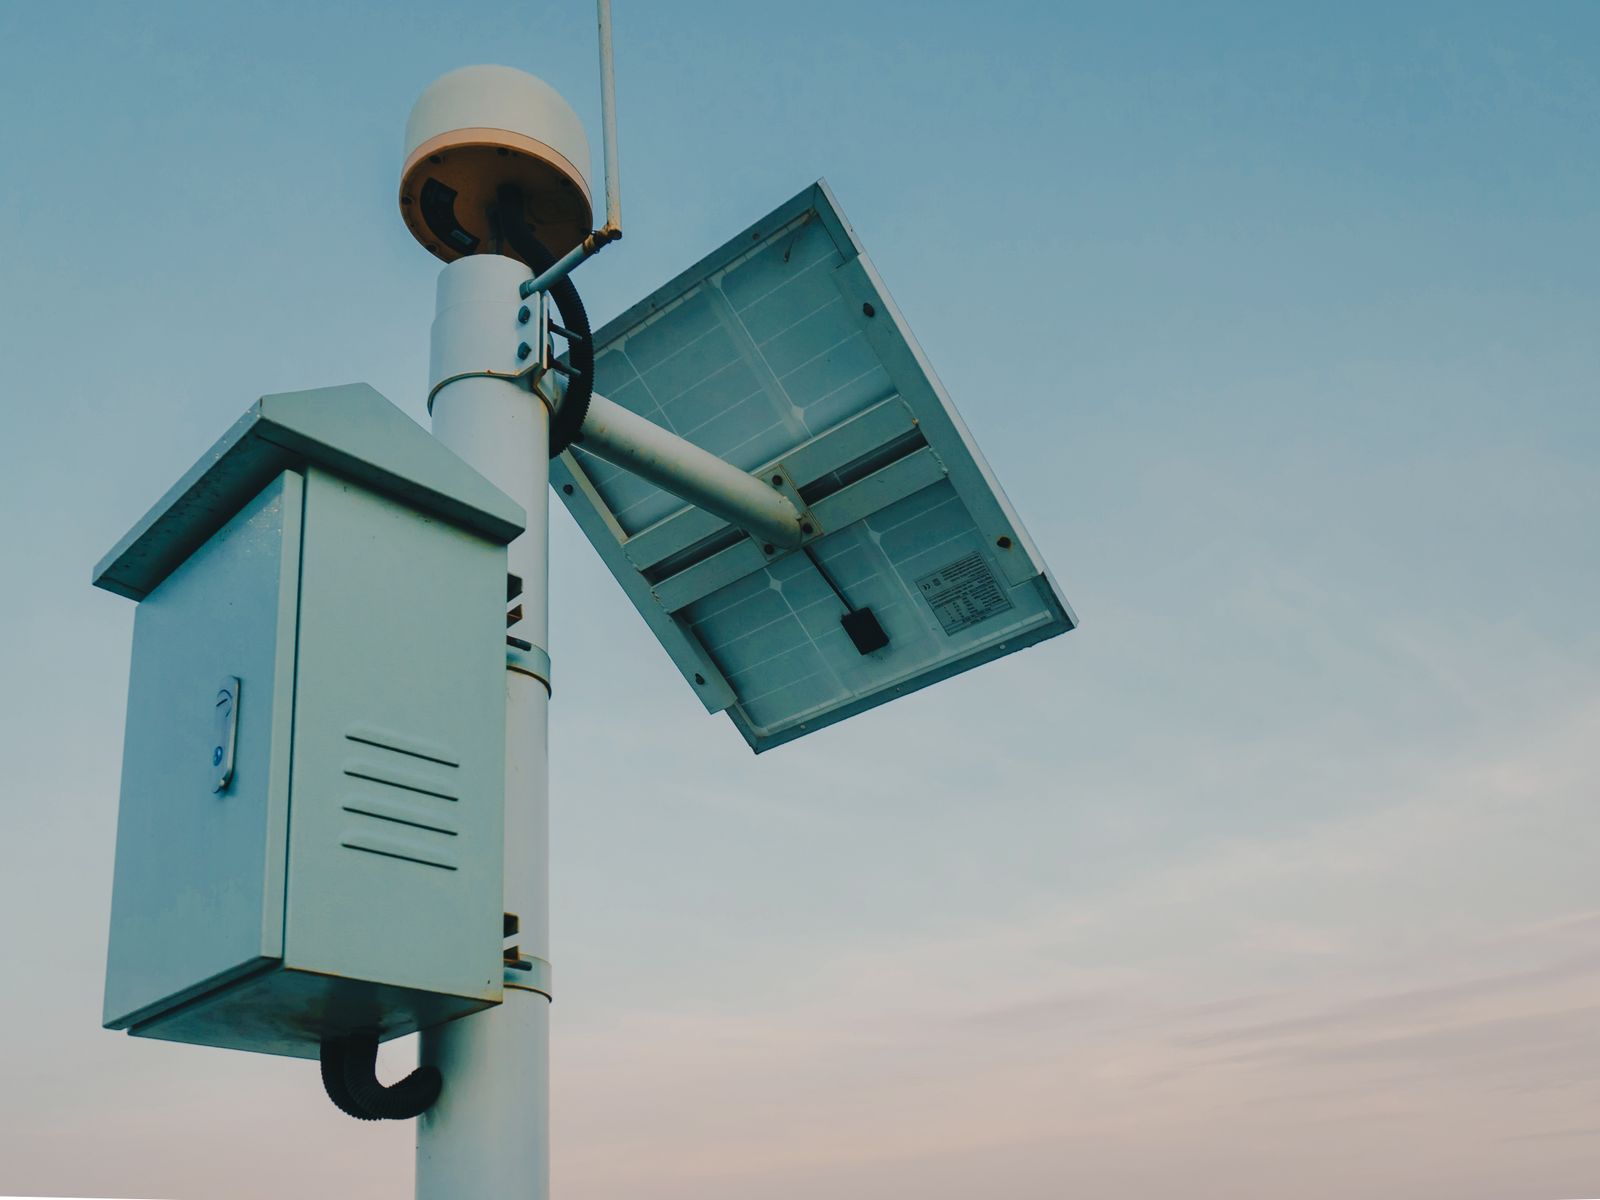
To mount a remote 4G solar security camera without building walls, use stainless steel lag screws with nylon standoff spacers for living trees, heavy-duty U-bolts or pipe clamps for round metal job site poles, and band clamps or lag bolts for wooden fence posts. Position solar panels facing True South at a 30° to 45° tilt, elevated 9 to 12 feet off the ground to maximize sun exposure and deter physical tampering.
Essential Off-Grid Mounting Pre-Installation Checklist
Before driving out to your remote property, ranch perimeter, or job site, assemble the necessary mounting brackets, weatherproofing supplies, and hand tools. Missing a single bolt or driver bit can cost hours in travel time.
Step-by-Step Installation Blueprint for Trees, Posts, and Metal Poles
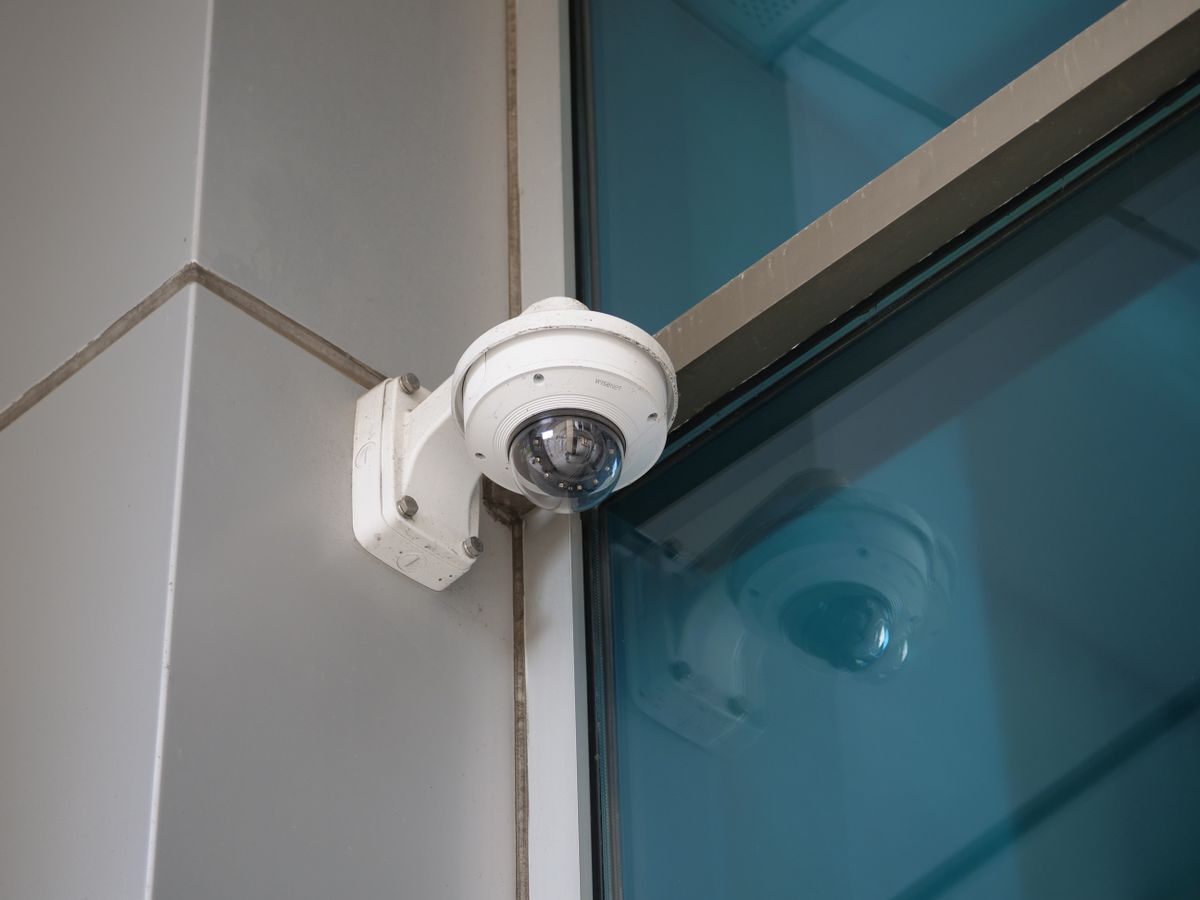
Photo by Giant Asparagus on Pexels
Follow this step-by-step installation blueprint to secure your 4G cellular solar security camera on any off-grid structure while protecting equipment from weather, tree growth, and vandalism.
Step 1: Pre-Condition the Camera and Verify Cellular Signal
Before climbing ladders or drilling into posts, insert the activated 4G SIM card into the camera unit. Power up the camera at ground level and perform a live video check on your smartphone app. Verify that the unit connects automatically to the strongest local network (Verizon, T-Mobile, or AT&T). Confirm 2K HD video streaming and test two-way talk audio.Step 2: Attach the Base Bracket to Your Target Structure
- For Living Trees: Drill pilot holes through the outer bark. Insert 5/16" x 3" stainless steel lag screws through 1-inch nylon standoff spacers before tightening the mounting plate. The spacers keep the steel plate from choking the tree and prevent expanding bark from damaging wire leads over time.
- For Round Metal Poles & Scaffolding: Position a metal universal pole mount plate against the pipe. Thread two heavy-duty stainless steel worm-gear band clamps or U-bolts around the pole and through the bracket slots. Tighten securely with a nut driver until zero rotational slip remains.
- For Wooden Fence Posts: Secure the mounting bracket directly to the post center using 2-inch wood screws or lag bolts, ensuring the timber is free from deep rot or splitting.
Step 3: Mount the Camera Unit at Optimal Height
Attach the camera body to the secured bracket at an elevation between 9 and 12 feet. This height keeps the camera safely out of arm's reach from trespassers while maintaining an optimal downward angle for AI person detection, vehicle tracking, and facial recognition. Adjust the pan-tilt head to cover key access points, such as farm gates, equipment staging zones, or driveway entrances.Step 4: Angle the Solar Panel and Form a Drip Loop
Install the solar panel bracket above or adjacent to the camera unit, ensuring no overhanging branches cast shadows between 10:00 AM and 4:00 PM. Tilt the solar collector between 30° and 45° facing True South (for North American installations). Plug the solar power cable into the camera's charging port, wrapping excess cord behind the mounting plate. Always form a downward 2-inch 'drip loop' in the cable before it enters the camera body so rainwater drains away from the silicone weather seal.Pro Tip: Preventing Vibration and Tree Growth Hardware Binding
When installing security cameras on active timberland or perimeter trees, trunk expansion and wind sway are your primary enemies. Always use 1-inch nylon or stainless steel standoff spacers behind lag screws. This leaves an air gap between the bracket and bark, accommodating trunk growth without bending the bracket or snapping cable leads over a 12-to-24 month period. Furthermore, mounting on main trunks larger than 10 inches in diameter minimizes sway, preventing false motion triggers during high-wind events.
Comparing Mounting Surfaces: Trees vs. Fence Posts vs. Metal Poles
Pros
- Living Trees: Natural camouflage conceals cameras from trespassers; high elevation points are readily available.
- Wooden Fence Posts: Highly stable base; easy to drill with standard wood screws; ideal for gate monitoring.
- Metal Job Site Poles: Exceptional anti-tamper security; non-combustible; allows easy height adjustments via clamps.
- Living Trees: Requires standoff spacers to accommodate bark growth; swaying branches can cause false motion triggers or shade panels.
- Wooden Fence Posts: Limited elevation (typically 6–8 feet); vulnerable to cattle rubbing or timber rotting at ground level.
- Metal Job Site Poles: Requires specialized band clamps or U-bolts; high thermal conductivity in extreme summer heat.
Hardware Selection Matrix by Surface Type
| Surface Type | Recommended Fasteners | Wind Load Rating | Solar Clearance Ease | Tamper Resistance |
| --- | --- | --- | --- | --- |
| Living Tree (Trunk >10") | 5/16" x 3" Stainless Lag Screws + 1" Standoff Spacers | High (75+ mph) | Moderate (Requires canopy trimming) | High (High elevation camouflage) |
| Wooden Fence Post (4x4 / Round) | 2.5" Stainless Wood Screws / Lag Bolts | High (60+ mph) | High (Unobstructed top exposure) | Moderate (Accessible height) |
| Agricultural T-Post | Heavy-Duty T-Post Bracket Adapter + U-Bolts | Low to Medium (May sway in high winds) | High (Open field clearance) | Low (Easy to bend or unseat) |
| Metal Pipe / Scaffolding (2" O.D.) | Stainless Worm-Gear Band Clamps / Dual U-Bolts | Very High (90+ mph) | High (Ideal for open job sites) | Very High (Rigid metal structure) |
Use this side-by-side technical matrix to match your off-grid mounting structure with the exact fasteners, load ratings, and solar positioning criteria required for long-term deployment.
Key Takeaways for Remote Camera Mounting
Keep these essential rules in mind when deploying cellular solar security hardware across remote acreage or construction zones.
Recommended Off-Grid Solar Security Hardware
For complete off-grid protection without Wi-Fi or electrical outlets, equip your property with the Solar Watch Cam Pack. Engineered specifically for rugged US ranches, job sites, and remote acreage, this 4G LTE cellular camera requires zero wiring and auto-connects out of the box to Verizon, T-Mobile, or AT&T networks.
Featuring 2K HD video resolution, full-color night vision with an integrated spotlight, smart AI motion filtering (ignoring wind-blown leaves and insects), two-way audio, and IP65 weatherproofing (-4°F to 122°F), the Solar Watch Cam guarantees continuous year-round surveillance. The included high-efficiency solar panel maintains internal battery power effortlessly—mount it once in 10 minutes and never worry about climbing ladders to recharge again.
Interactive Tool: Remote Mounting Hardware Selector
Use this interactive calculator framework to determine the precise bracket dimensions, screw types, and installation height needed for your specific remote installation.
Selecting the Right Mount for Your Property Type
Every property presents unique structural choices. Ranches benefit from fence post and gate mounts, construction sites rely on rigid pipe scaffolding, and heavily wooded cabins require trunk elevated mounts with panel extension cords.
Best choice for
- Corner Wooden Fence Posts (6x6) — Provides rigid structural support at key vehicle choke points with zero foliage blocking the solar panel.
- 2-Inch Galvanized Metal Scaffolding Pipe — Allows quick relocation as building phases progress, using heavy-duty band clamps for anti-vibration stability.
- Mature Hardwood Tree Trunk (12+ Inches) — Offers natural high-elevation concealment with lag screws and nylon standoff spacers to protect tree health.
- Avoid mounting directly to thin branches or small saplings under 6 inches in diameter, as wind movement causes excessive camera shake and battery-draining false alerts.
- Avoid mounting solar panels underneath dense pine or oak canopies without utilizing solar extension cables to reach direct sunlight.
- Solar Panel Extension Cables — Allows the camera to remain hidden in deep shade or under building eaves while placing the solar collector 10–15 feet away in direct sunlight.
Diagram Spec: Camera & Solar Panel Mounting Blueprint by Surface
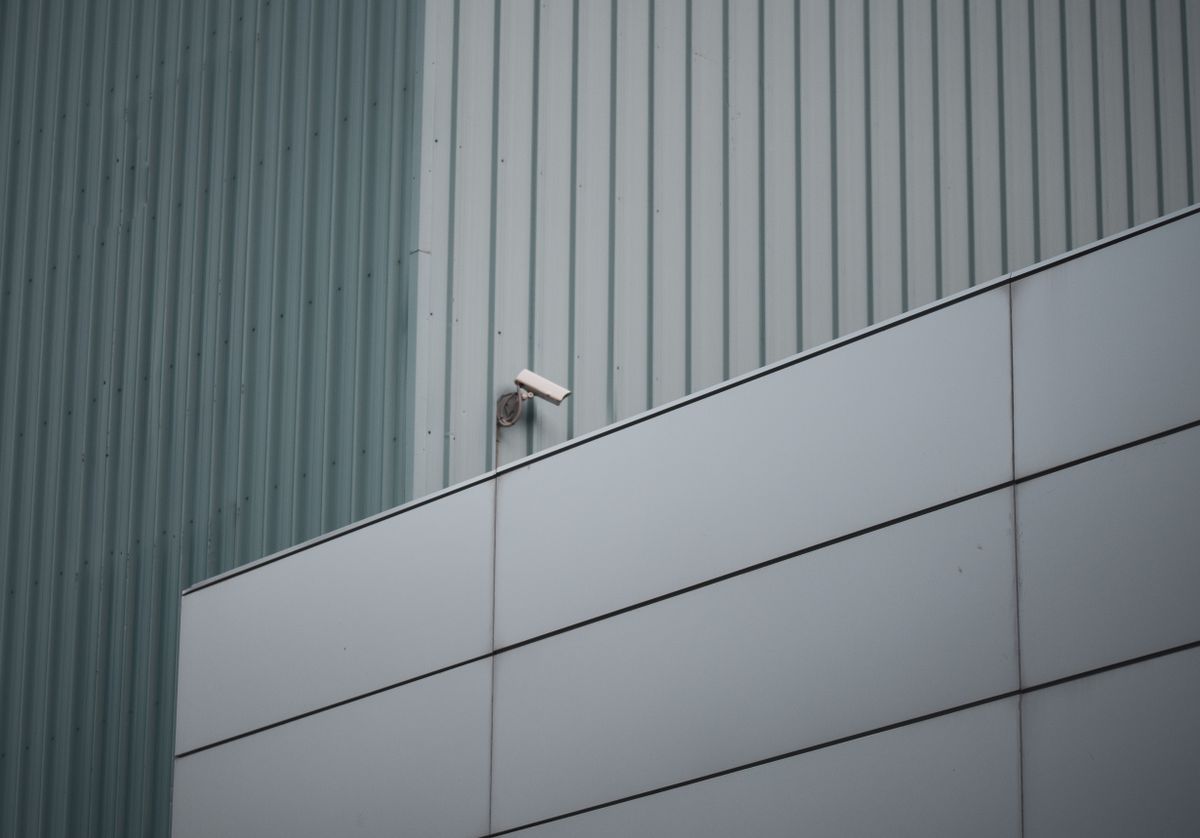
Photo by Walter Cunha on Pexels
This visual diagram illustrates physical separation, solar orientation angles, and drip loop geometry for off-grid camera setups.
5 Mounting Mistakes That Lead to Battery Drain and Camera Theft
Avoid these common field installation errors to ensure continuous 24/7 video capture and long-term hardware survival.
Installation & Seasonal Maintenance Timeline
- Pre-Departure (24 Hours Prior) — Charge camera internal battery to 100% via USB wall charger; insert activated 4G SIM and verify live cellular connection in app.
- Field Install Day (30 Minutes) — Mount bracket at 9-12 ft height; secure camera and panel facing True South at 30°-45° tilt; verify drip loop and app stream.
- 30 Days Post-Install — Check mobile app battery percentage trends; inspect solar panel surface for dust or pollen accumulation.
- Biannual Check (Spring & Autumn) — Adjust solar panel tilt angle by ±15° to match seasonal sun path changes; wipe panel glass clean with a microfiber cloth.
Frequently Asked Questions About Off-Grid Camera Mounting
Clear up common technical questions regarding wind loads, tree growth, and single-post mounting.
Next Steps: Secure Your Remote Property Today
Your decision: Determine the primary mounting structure available at your remote monitoring zone (tree, fence post, or job site pole).
Do this next: Gather stainless steel hardware (U-bolts or lag screws with spacers), select a south-facing location with unshaded sun access, and pair your 4G cellular camera before climbing.
- Read next: How to Mount Off-Grid Security Cameras to Prevent Theft and Tampering
- Read next: Solar Panel Placement Buying Guide: Mounting Strategies for Ranches, Farms, and Job Sites
Equip your property with the Solar Watch Cam Pack for integrated 4G connectivity, 2K HD video, and zero-maintenance solar charging.
Ready to protect your off-grid ranch, farm home, job site, or remote cabin without Wi-Fi headaches or electrician bills? Follow this action plan to get your surveillance operational.