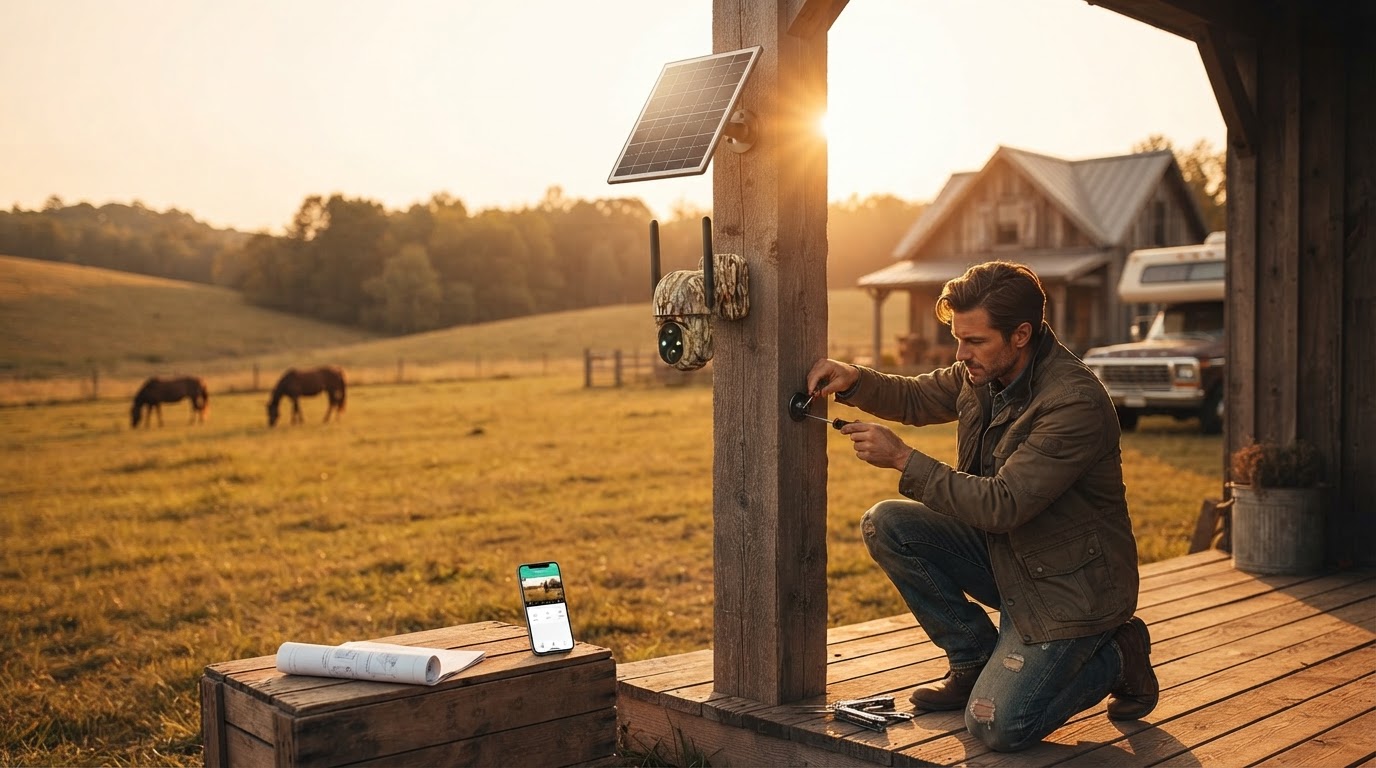
How to Install a Solar Security Camera in 10 Minutes
How to Install a Solar Security Camera in 10 Minutes
Installing security equipment on remote ranches or job sites does not require hiring electricians or running complex network cables. Follow these simple steps to deploy your 4G solar camera in 10 minutes.
Step 1: Select an Optimal Mounting Location
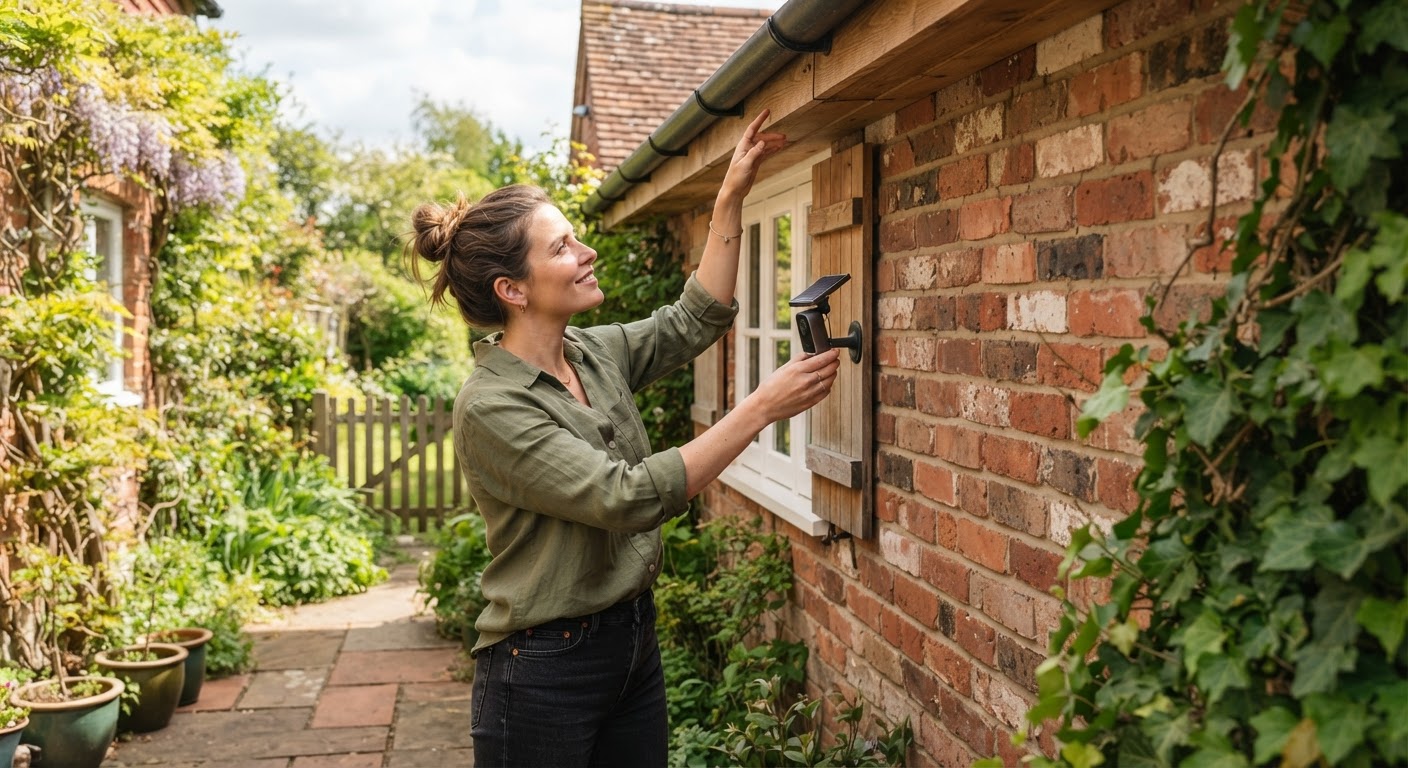
Choose a mounting location high enough to capture a wide field of view while remaining safe from tampering. Ensure the integrated solar panel receives direct sunlight for several hours daily. The IP65 weatherproof casing allows installation on fence posts, exterior walls, or trees exposed to rain, snow, and temperatures between -4°F and 122°F.
Step 2: Insert the Data and Storage Cards
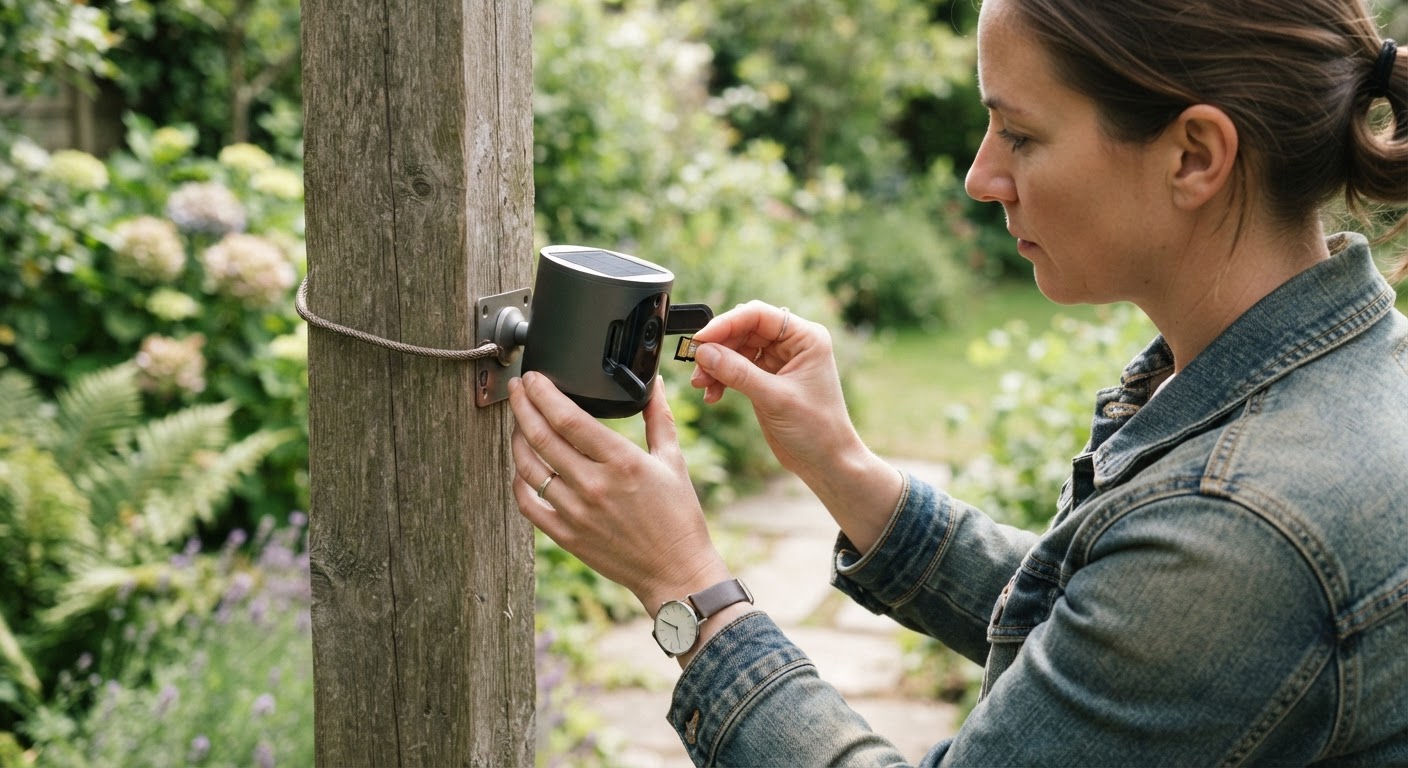
Verify that your cellular data profile is active (utilizing the included 7-day trial or an active 4G data refill plan). Optional local video storage can be established by inserting a microSD card up to 128GB (sold separately) into the weather-sealed card slot.
Step 3: Securely Mount the Camera and Panel
Attach the mounting bracket to your chosen structure using the included hardware. Secure the camera base to the bracket. Position the 360-degree lens assembly toward primary entry points, such as gates or driveways. Adjust the solar panel angle toward maximum sun exposure to maintain self-sustaining solar charging.
Step 4: Complete App Pairing and Test Live Stream
Power on the device. It will automatically detect and connect to the strongest cell signal from Verizon, T-Mobile, or AT&T networks. Open the companion mobile app on your smartphone to pair the device. Test the 2K HD live stream, trigger the full-color night vision spotlight, and verify two-way talk audio. Learn more about optimal camera positioning inside [the main guide].
Read the full guide: The Complete Guide to Off-Grid Property Security Monitoring