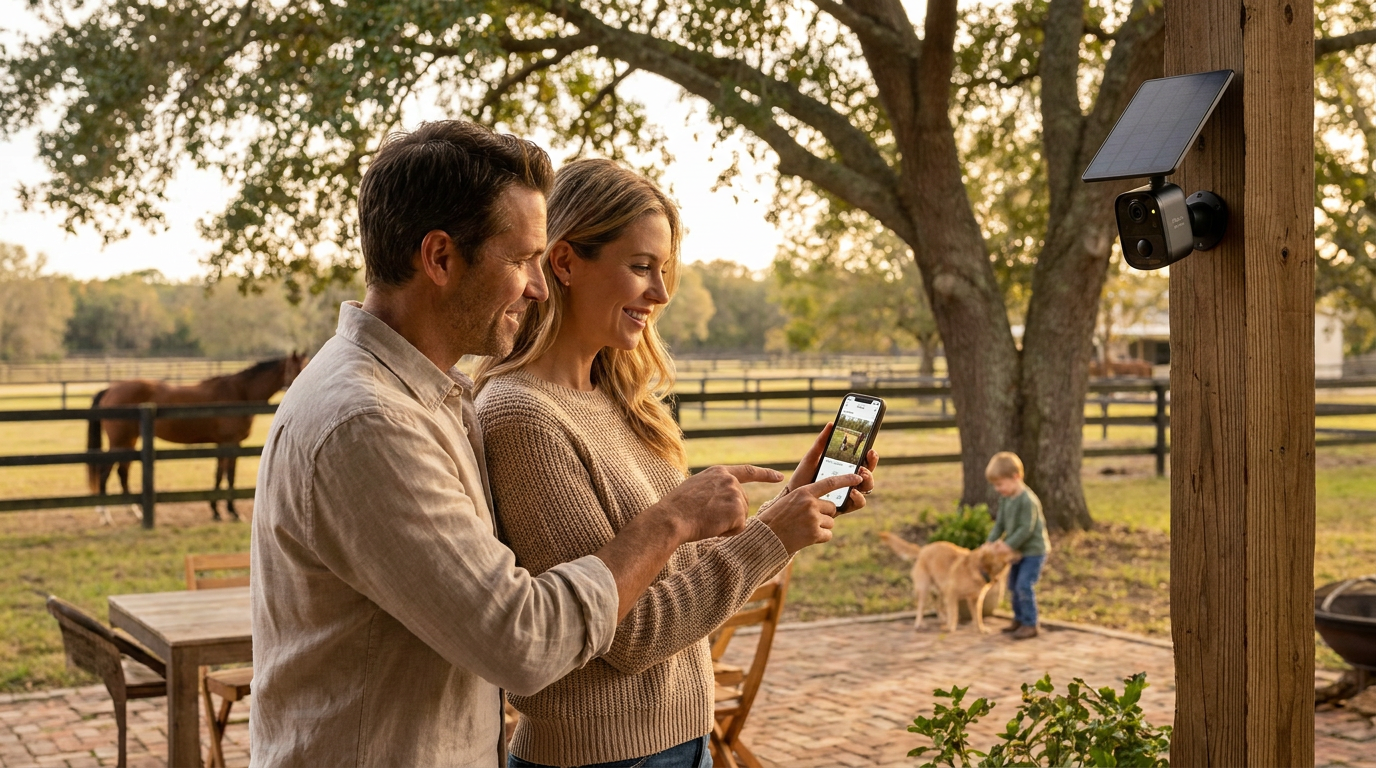
Solar Watch Cam Hardware and Panel Integration Guide
 Maya ChenContributing Editor
July 23, 2026. This guide details the technical requirements for deploying the Solar Watch Cam in diverse outdoor environments. It is designed for property owners seeking a reliable, off-grid surveillance solution without the recurring maintenance of battery swaps.
The Efficiency Gap in Outdoor Surveillance
The conventional wisdom says that all you need for an outdoor camera is a clear line of sight and a generic solar panel. This assumption often leads to hardware failure within the first ninety days. Most consumer-grade solar kits suffer from a power mismatch where the camera's consumption during high-activity periods—such as night-time infrared recording—exceeds the panel's ability to recharge the internal cells. According to SolarCamera.com, a critical first step often overlooked is to fully charge the camera battery via a wired connection before the initial installation. Skipping this creates a "deficit cycle" where the panel is perpetually trying to recover a depleted battery rather than maintaining a float charge. Here's the part nobody talks about: most installations fail not because of hardware defects, but because the installer treats the solar panel as a primary power source rather than a trickle charger. When you factor in atmospheric interference and seasonal light changes, the margin for error is razor-thin. If the initial setup isn't handled with a focus on amperage and battery health, the system is destined for a Solar Watch Cam app connectivity troubleshooting session sooner rather than later. Run the math: a standard 5W panel in partial shade produces less than 40% of its rated output, which is often insufficient for high-bitrate streaming.
Technical Integration of the Solar Watch Cam
Photo by Efe Burak Baydar on Pexels
The Solar Watch Cam addresses these power constraints by utilizing a high-efficiency photovoltaic surface paired with a low-power standby mode. The hardware is designed to remain in a deep-sleep state until the PIR (Passive Infrared) sensor triggers a wake event, a necessity for sustaining long-term operation. During the physical deployment, the integration of the bracket system is paramount. As noted in the CamDo Solar & Dry Enclosure Set-Up Guide, adjusting the camera bracket to fit the specific model ensures that the lens and sensors remain clear of the enclosure’s edges, preventing glare and false triggers. For the Solar Watch Cam, this means ensuring the waterproof gasket is seated correctly before tightening the mounting screws. It is vital to how to mount Solar Watch Cam for maximum sun to avoid the voltage drops that occur when even a single cell on the panel is shaded. The connection between the panel and the camera must be secured with the provided weather-sealed micro-USB or USB-C tether. If this connection is loose, moisture ingress will corrode the port, leading to permanent hardware failure. The Solar Watch Cam’s internal firmware is optimized to prioritize recording to local storage when the battery falls below a 15% threshold, disabling the power-hungry Wi-Fi radio to preserve the core security function. This failsafe is a direct response to the industry's tendency to prioritize connectivity over data integrity.
Deployment and Configuration Framework
Successful installation requires a systematic approach that prioritizes longevity over speed. Before drilling holes into a structure, the environment must be audited for signal strength and light availability. If the Wi-Fi signal is marginal at the mounting point, the camera will drain its battery attempting to maintain a handshake with the router. This is a common precursor to the issues discussed in our guide on Solar Watch Cam app connectivity troubleshooting. Furthermore, the angle of the panel must be fixed according to the latitude of the installation site to ensure year-round performance. I'll change my mind when solid-state batteries become the industry standard, but until then, the lithium-ion cells in solar cameras remain sensitive to extreme thermal fluctuations. Proper mounting involves more than just height; it requires an understanding of thermal load and wind resistance. Use the following checklist to verify the installation:
- Perform a 24-hour bench test where the camera is fully charged and synced to the network before mounting.
- Verify that the mounting surface is vibration-free to prevent false motion alerts and blurry footage.
- Ensure the solar panel cable has a "drip loop" to prevent rainwater from running directly into the camera’s power port.
- Check the how to mount Solar Watch Cam for maximum sun guide to confirm the panel is not obstructed by seasonal foliage.
- Test the PIR sensor range at the final mounting height to ensure the detection zone covers the intended area.
- Confirm that the weather-sealing caps on all unused ports are firmly depressed and flush with the housing.
Sources
Photo by Giant Asparagus on Pexels
- How to Install Your Reveal Solar Panel
- How to Install a Solar Security Camera: A Step-by-Step Guide for Beginners
- How to Set Up & Mount Your Solar-Powered Security Camera Kit