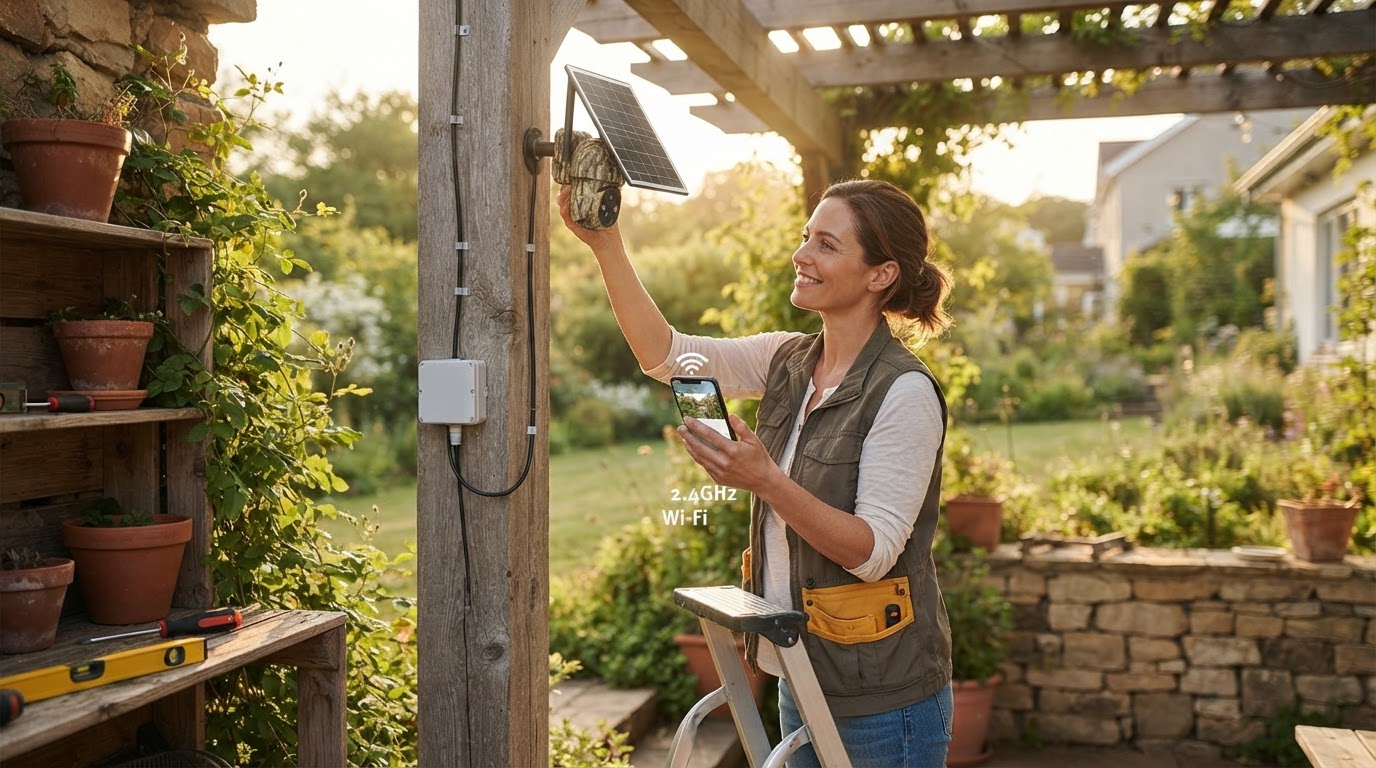
How do I complete a Solar Watch Cam DIY installation?
 Sam VasquezBuying Guide Lead
August 23, 2026 — Installing a Solar Watch Cam requires a south-facing mounting point at least seven feet high and a stable 2.4GHz Wi-Fi connection for proper functionality.
Homeowners often ask this because traditional wired systems require expensive professional electrical work, whereas solar units promise a tool-kit-only setup. Getting the positioning right the first time is critical to avoid battery depletion during low-light months.
Can I install Solar Watch Cam without professional help?
Yes, the Solar Watch Cam is designed for a single-person DIY installation using basic hand tools and the included mounting brackets. Most users finish the physical setup in under 20 minutes because there is no requirement to run power cables through exterior walls or attics. I have found that the most time-consuming part isn't the screws; it is ensuring your Wi-Fi signal reaches the perimeter of your property. If you're on a budget, you can skip the professional installer and simply use a drill and a ladder. According to user discussions on Reddit regarding solar surveillance camera no wifi setups, the biggest hurdle is often signal strength rather than the physical mount. I recommend testing the live feed on your phone at the exact mounting spot before you drill any holes to ensure the data transmission is fluid.
What is the ideal placement for a solar spotlight cam?
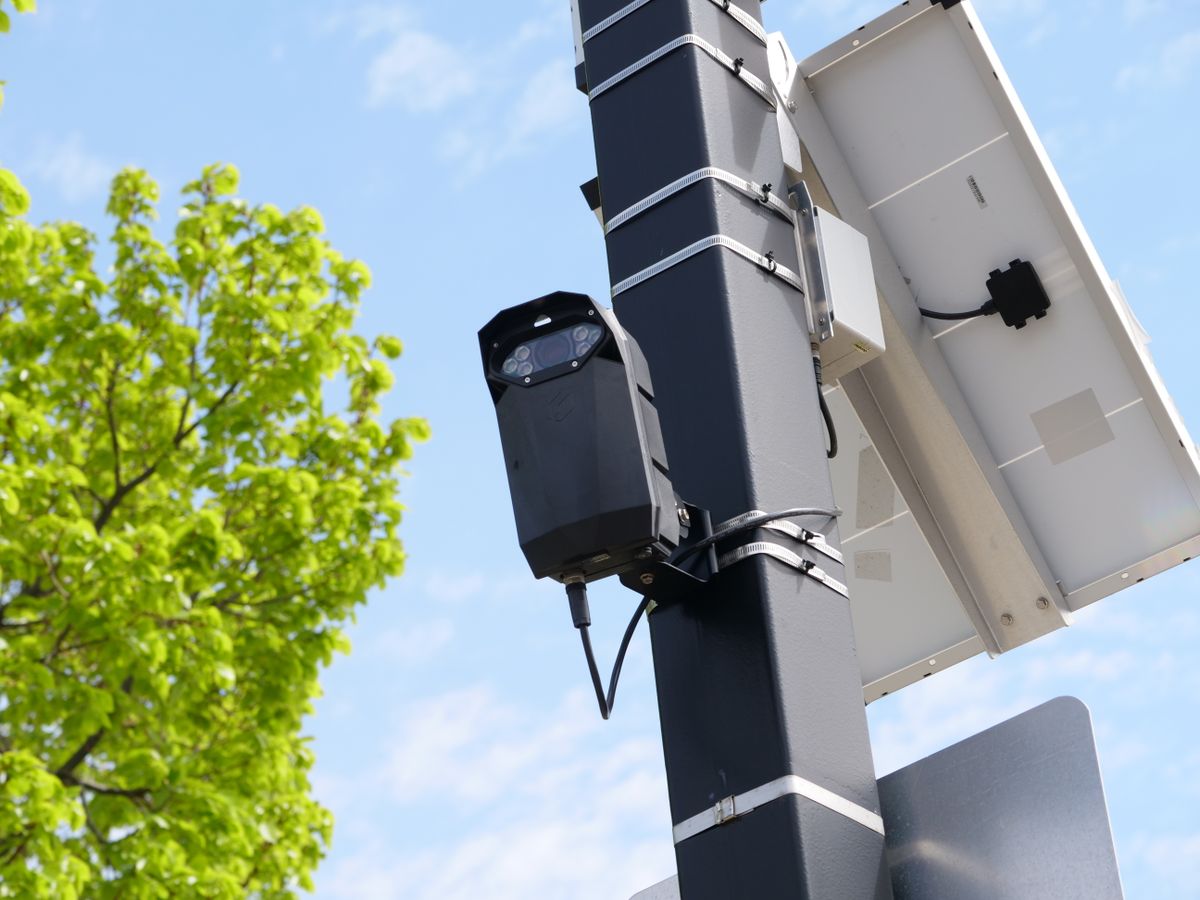
Photo by Giant Asparagus on Pexels
The ideal placement for a Solar Watch Cam is on a flat surface facing south with an unobstructed view of the sun for at least four to six hours daily. This ensures the internal battery maintains a charge even during consecutive overcast days. Between these two options—mounting under an eave or mounting on an exposed pole—I’d go with the exposed pole if your roofline creates significant shadows. If you mount it too low, you risk tampering; if you mount it too high, the motion sensors may lose accuracy. I prefer a height of eight feet, which balances security with clear facial recognition. For those looking to integrate these into a broader landscape, our Solar Watch Cam 4-Step Garden Placement Strategy provides deeper insights into blending hardware with foliage without blocking the solar cells.
Quick answers
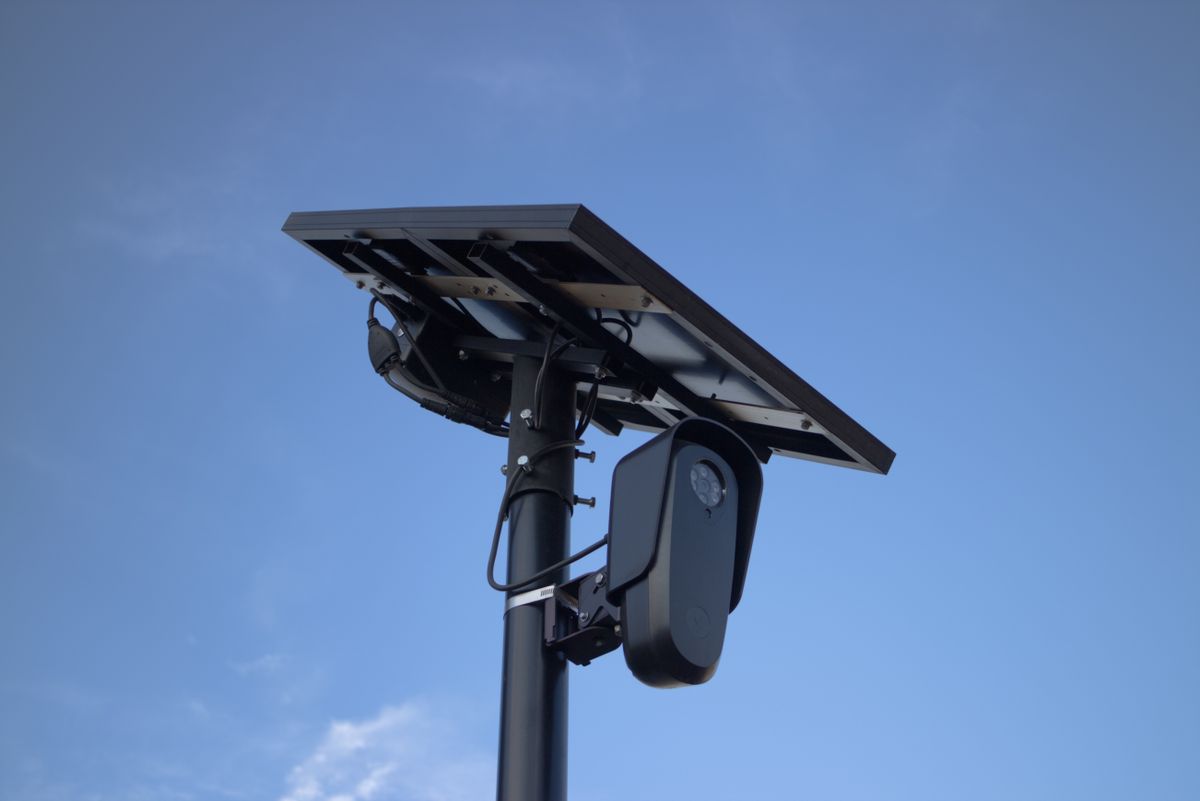
Photo by Will Freeman on Pexels
Q: Does the Solar Watch Cam work in the shade? A: No, the Solar Watch Cam requires direct sunlight to maintain its battery level, though it can operate for several days on a full charge during cloudy weather. You should ensure the panel is not obstructed by branches or roof overhangs.
Q: What tools are required for the DIY setup? A: You will need a power drill with a 1/4-inch bit, a Phillips head screwdriver, and a stable ladder. The Solar Watch Cam kit includes the necessary wall anchors and mounting screws for wood or masonry surfaces.
Q: How do I connect the camera to my phone? A: You must download the official app and scan the QR code located on the back of the Solar Watch Cam while your phone is connected to a 2.4GHz Wi-Fi network. This pairing process typically takes less than two minutes once the device is powered on.
Q: Can this camera be used for large properties? A: Yes, but you must ensure your wireless router can reach the camera's location. For expansive areas, consider the Solar Watch Cam for Off-Grid Perimeter Security which addresses long-range connectivity.
If you are looking for a comprehensive environmental approach, look into Solar Watch Cam Systems for Sustainable Home Security to see how these units reduce long-term energy consumption.
Skip this if you have a North-facing home with total tree canopy coverage, as a solar-only solution will not receive the necessary 4+ hours of light to remain autonomous. Here's what I'd actually buy: the standard Solar Watch Cam unit paired with a dedicated Wi-Fi extender if you are placing it more than 40 feet from your router.
Learn more about Solar Watch Cam at https://solarwatchcam.com.