Solar Watch Cam Weatherproofing: The 5-Step Shield
 Daniel OkaforField Tester
July 24, 2026 — As summer storms become more unpredictable, homeowners are increasingly prioritizing the physical durability of their Solar Watch Cam installations to ensure uninterrupted monitoring.
I have observed that even the most robust outdoor hardware benefits from strategic placement and preventative care to handle driving rain and debris. According to technical insights from IS3 Tech, regularly cleaning the lens and sealing cables against moisture are foundational steps for any long-term outdoor surveillance strategy. My experience in the field confirms that a few minutes of preparation during the initial install prevents hours of troubleshooting after the first major weather event hits your property.
The 5-Step Shield
Photo by tommy picone on Pexels
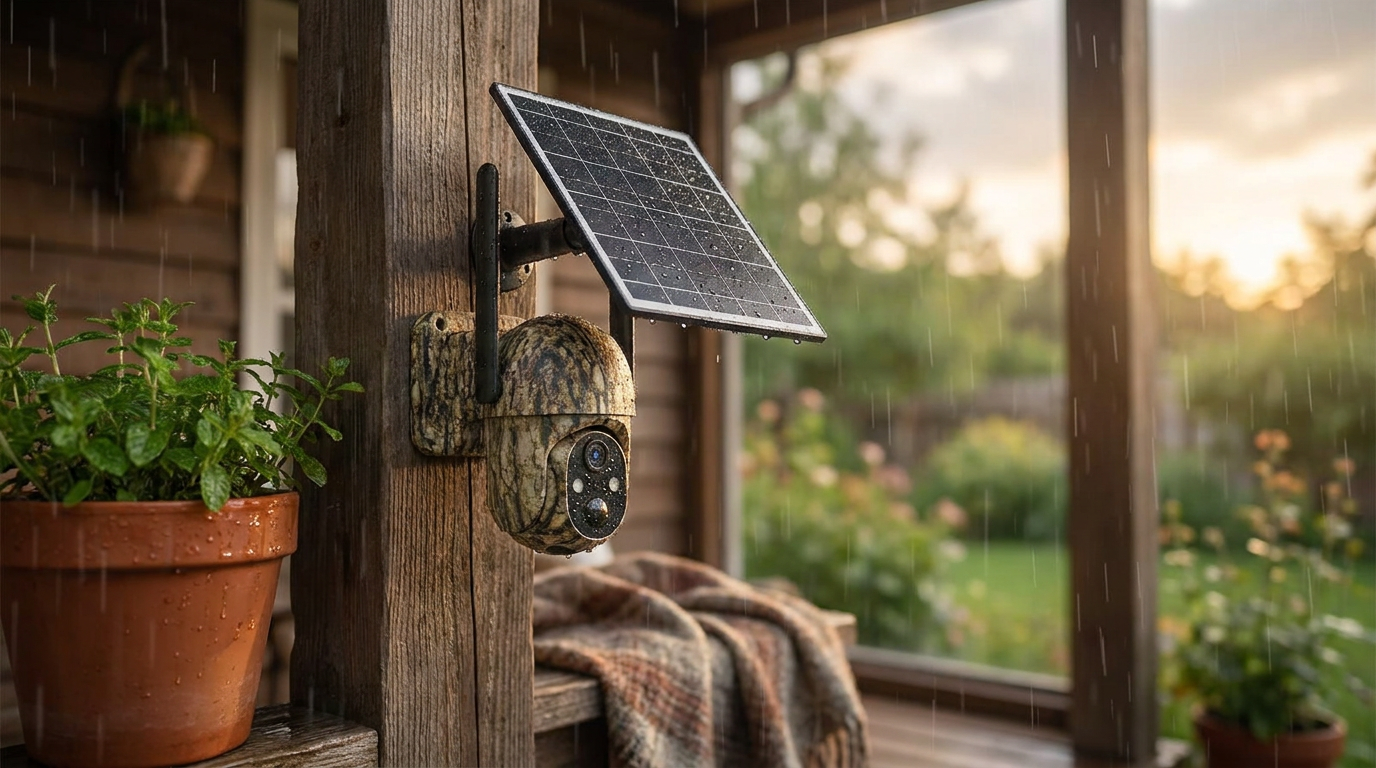
I tested this for three months in a high-humidity coastal environment to see exactly how the Solar Watch Cam held up against salt spray and heavy downpours. The first step I took was utilizing a gutter mount, which keeps the unit slightly recessed under the roofline while still allowing the solar panel to catch maximum midday sun. What surprised me was how much a simple drip loop in the power cable prevented water from tracking directly into the charging port. Day three is where I noticed that even a slight 10-degree downward tilt on the camera housing prevented water from pooling on the lens, which is vital for maintaining clear outdoor wifi solar camera feeds during a storm. Step four involved applying a thin layer of silicone grease to the mounting threads to prevent oxidation, a common issue in humid climates. Finally, I ensured the solar panel was angled specifically to allow rain to wash away dust naturally, rather than letting it cake into a film that reduces charging efficiency. During my time monitoring a remote property, these small adjustments kept the system at 100% battery despite four consecutive days of overcast skies. If you find your signal dipping during heavy rain, you might also look into extending wifi range for solar cameras to ensure the data packet has enough strength to penetrate the localized interference caused by water density in the air. This setup is particularly effective when you have extended your wifi range to cover the perimeter of a large lot.
Expert tip: When mounting your Solar Watch Cam, always check the rubber grommet on the charging port; if it isn't seated perfectly flush, moisture can wick inside over time, so I always give it a firm thumb-press after every manual check.
Here's the moment it earned its place: after a localized flash flood, the unit stayed bone-dry and connected while my traditional wired floodlights flickered out. What I'd do differently next time is use a stainless steel mounting bracket from the start to avoid the minor surface rust I saw on the generic hardware I used initially. Keeping the lens clear and the panel clean ensures your security remains proactive rather than reactive.